1. Open Adobe Premiere Pro to a new project and name the project
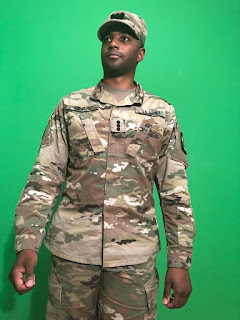
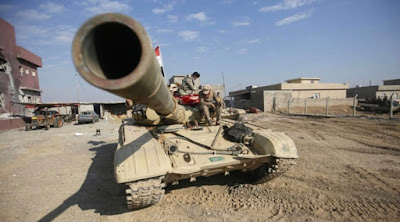
 2. In Premiere Pro, go at top to File then Import 3. Import the both the Green Screen photo or video and what will become its background
image, whether a still shot or video
4. Drag the background shot in V1 in the Storyboard
5. Then drag the Green Screen still or clip to the V2 channel in the Storyboard
6. If you are using still shots for this project, make the Storyboard clips smaller by double
clicking on them in the preview/program screen
a. Blue boxes will appear around the image- grab corner to resize; click on blue
line on side to move the green screen image within the background image
7. Use the drag bar at the bottom left of the Storyboard to adjust the length of clips
8. Next, to top toolbar and click on Windows
9. In the Windows drop down menu, go to Effects
10. The Effects tools will appear in the lower left part of the screen
11. Scroll down to Keying in the Effects menu
12. Click on Keying then in that menu list double click on Ultra Key
13. Ultra Key menu will open under Effects Control to the left of the View Box
14. When going to Ultra Key, in the Timeline click on the interview in Video 2 (not the
background image)
15. Click on the dropper icon to the right of Key Color
16. Then click in the Green Screen area of your image- click the dropper in the green area,
not on the image that you want to superimpose over the background
 17. The two images should now be blended
18. To change the size of your Green Screen image, click on Motion in the Effect Control
Ultra Key box
19. Can again double click on the “inside” image to move and resize
20. While doing this make sure you are clicked on your Green Screen image in the
Storyboard
21. If video clip or photo is not filling the program/preview screen, right click on the clip in
the storyboard and click on “scale to frame size” to make image fill the screen
 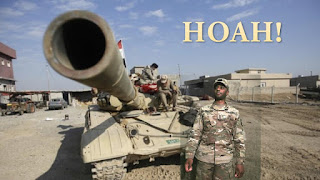 22. Add text to your project- go to top, click title---new title---then default still- name title
but it is not the wording that will appear with your image
23. Title screen opens- click within this screen to write (make sure the cursor in the
storyboard is at the point where title will go
24. Type wording then select font style
25. Make font size smaller or larger by changing font size number from 100- put in larger
number to make size bigger; smaller number to make smaller
26. Use move arrow tool to position text/titling where you want it to go
27. Click out of the titling/text screen- what you wrote is saved in the scene bin
28. Place title in Video Channel 3 in the storyboard
29. To save or render an image such as a blended green screen project, click the small
camera icon at the bottom right of the program/preview screen
30. New screen opens to name image,locate where to save it, and click jpeg also


No comments:
Post a Comment